We can't find the internet
Attempting to reconnect
Something went wrong!
Hang in there while we get back on track
Confirm Appointments with Ease
CalFirm: Where Calendar meets Confirm. Boost attendance and reduce no-shows effortlessly.
Get Started for Free
Setup Guide
Video Walkthrough
Watch our introductory video to setting up and using CalFirm effectively.
-
1
Basic Settings
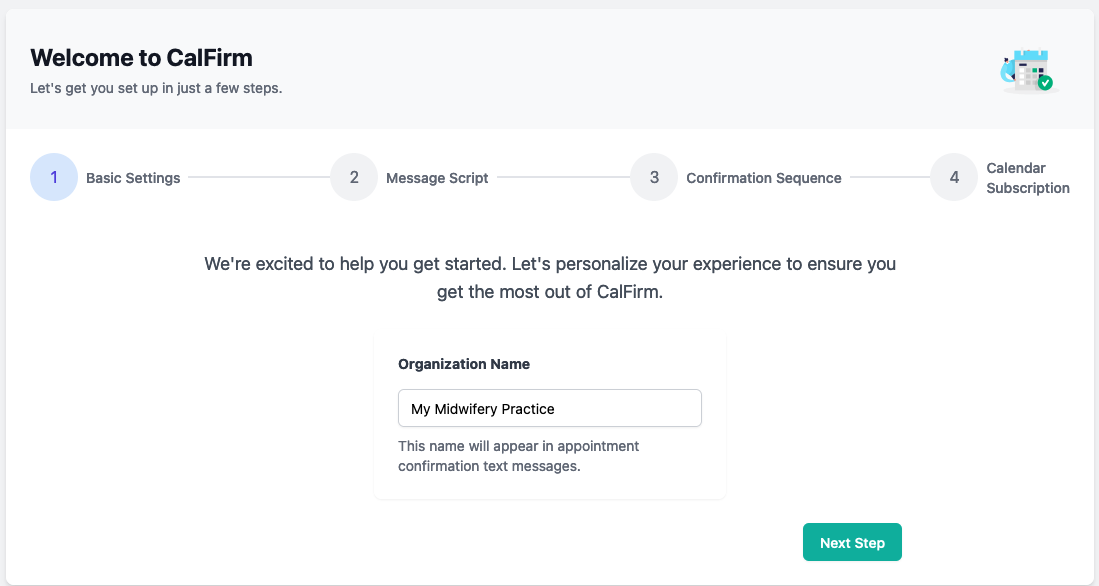
Accessible on first login or by navigating to the welcome page when logged in.
Set your organization name. It will be used in the confirmation messages and in the CalFirm app.
-
2
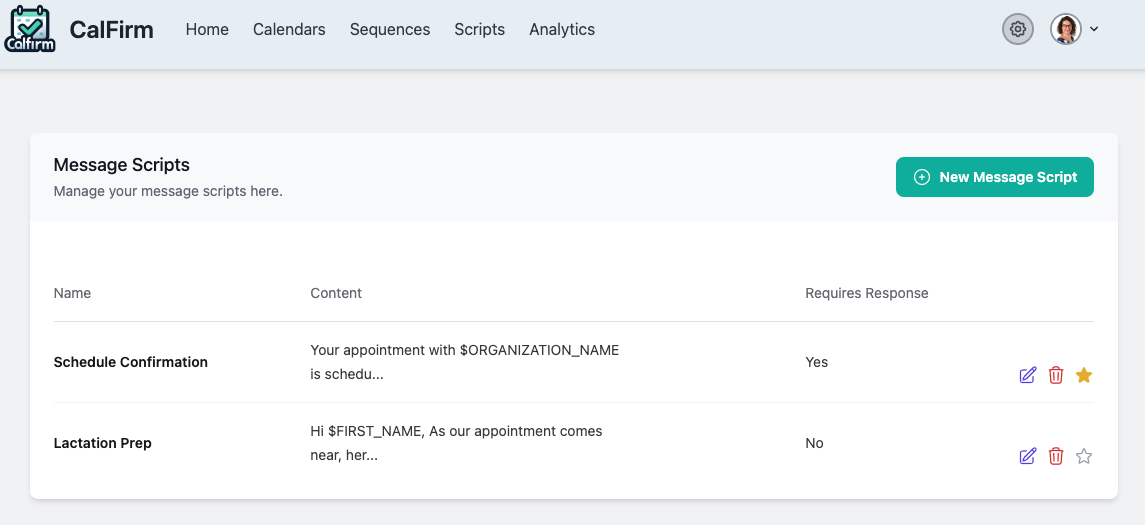
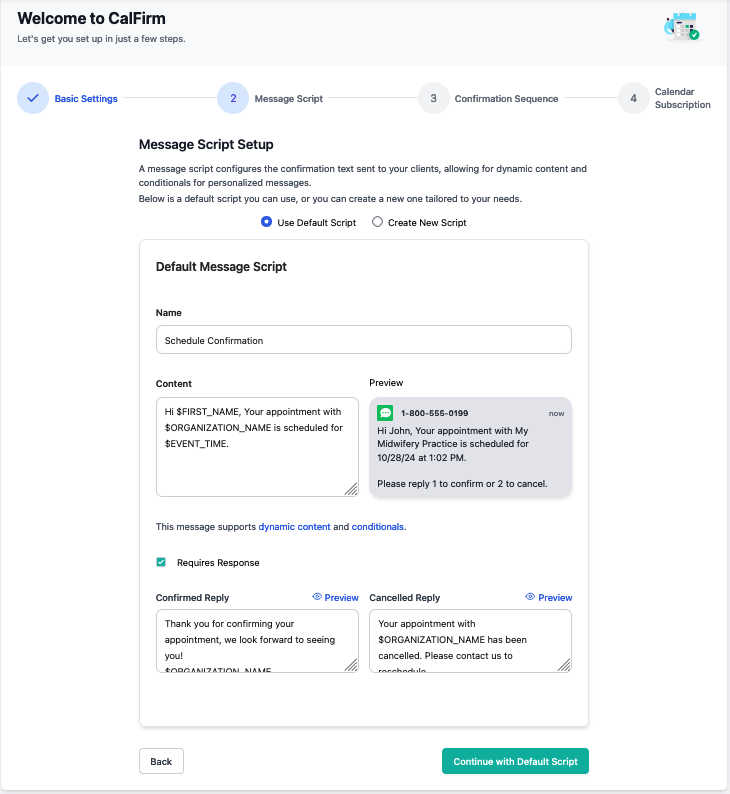
Customize Message Scripts
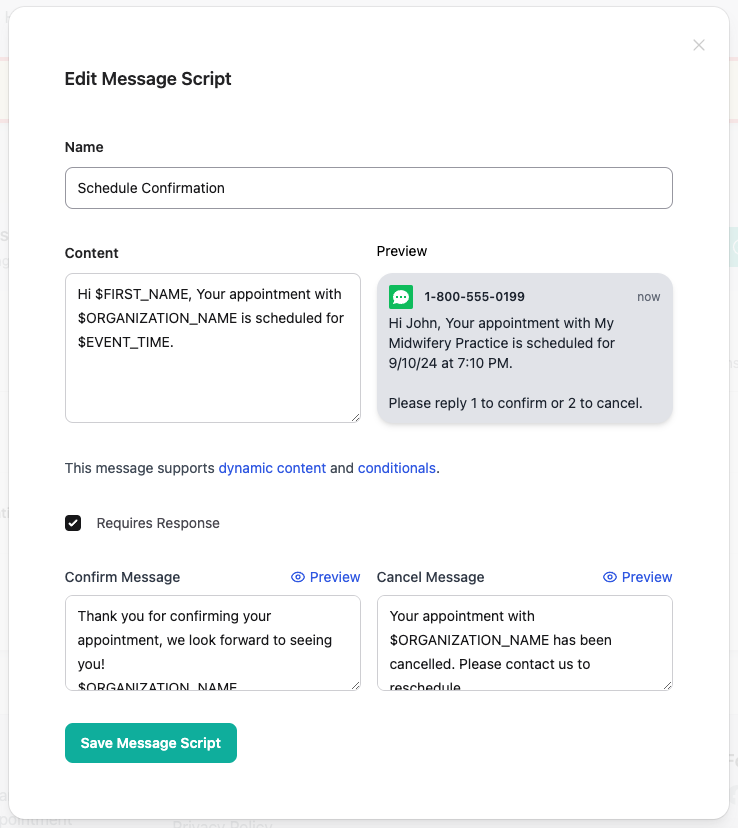
Create personalized confirmation messages for your clients, or use our default one. Use variables for dynamic content like appointment time and client name. Select the "Response Required" option if you'd like an SMS response to confirm/cancel the appointment.
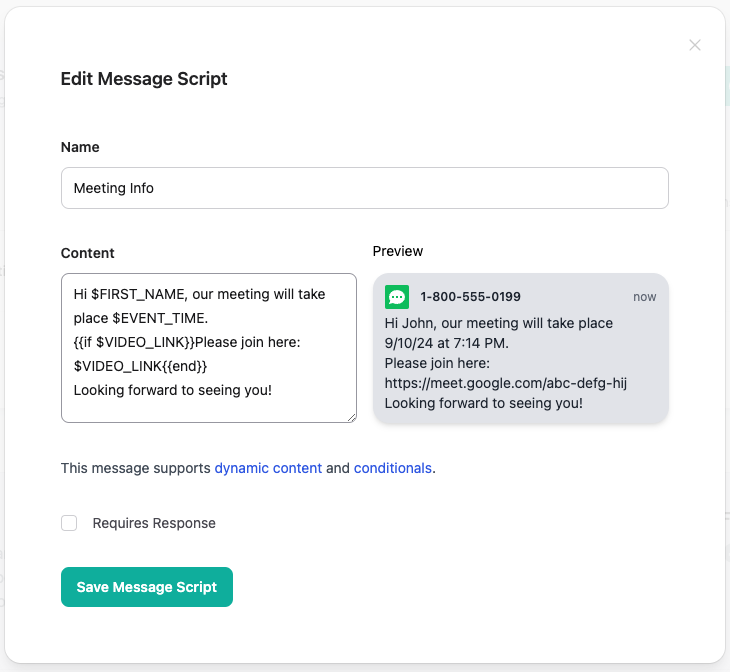
Leverage easy to use conditional syntax to better customize your message (e.g. video link if exists).
-
3
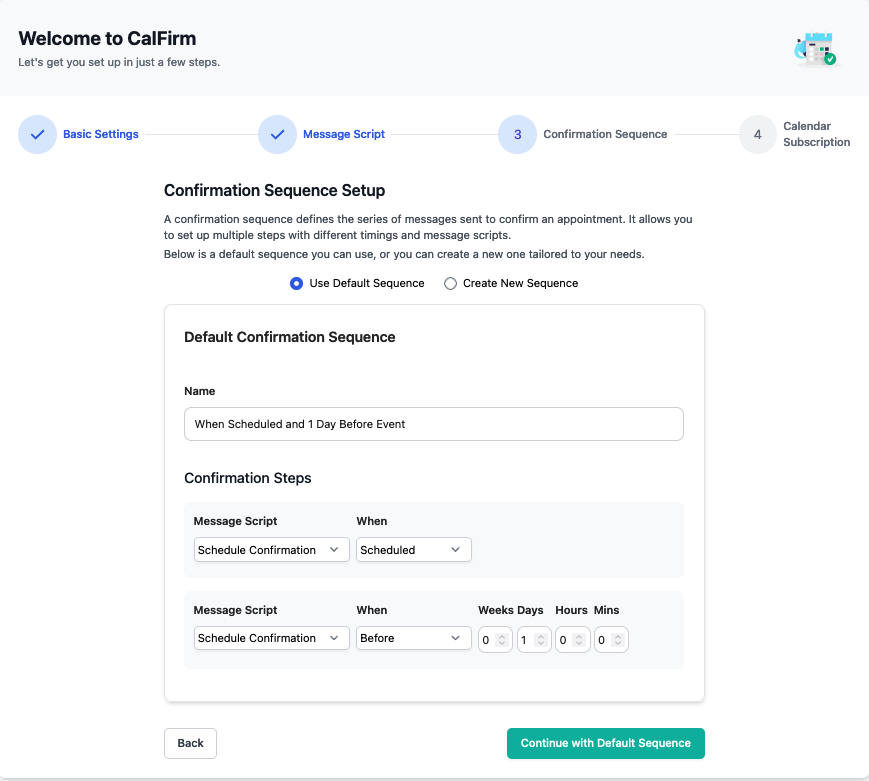
Set Up Confirmation Sequence
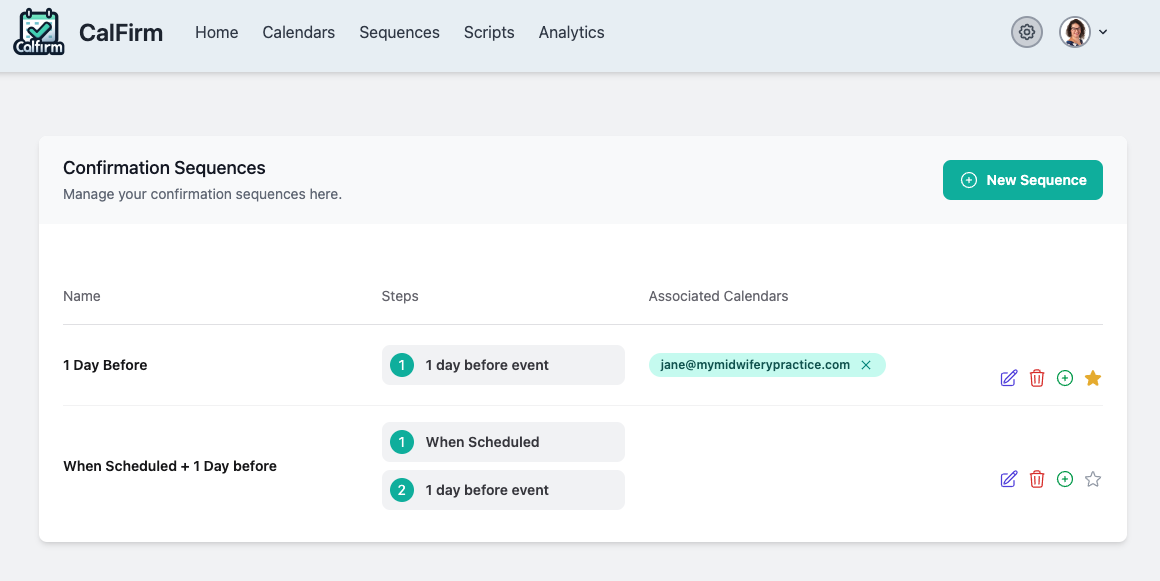
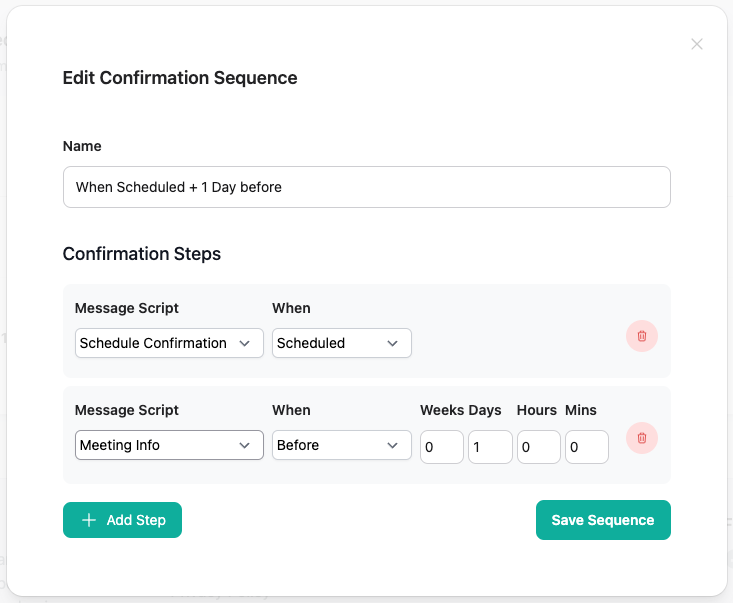
Create a new confirmation sequence and define when appointment confirmations are sent and using what script, or use our default one.
-
4
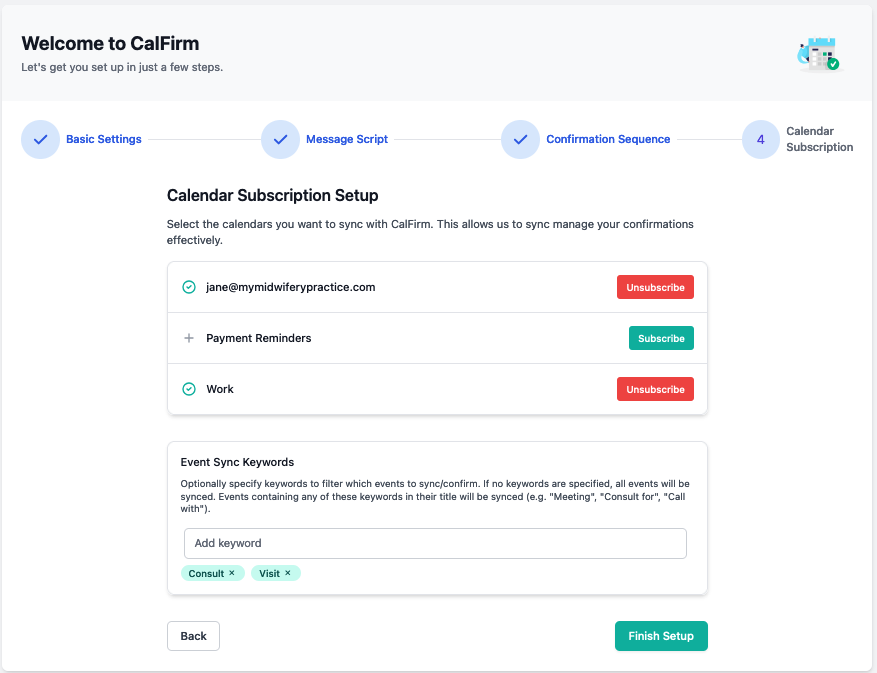
Connect Your Calendar
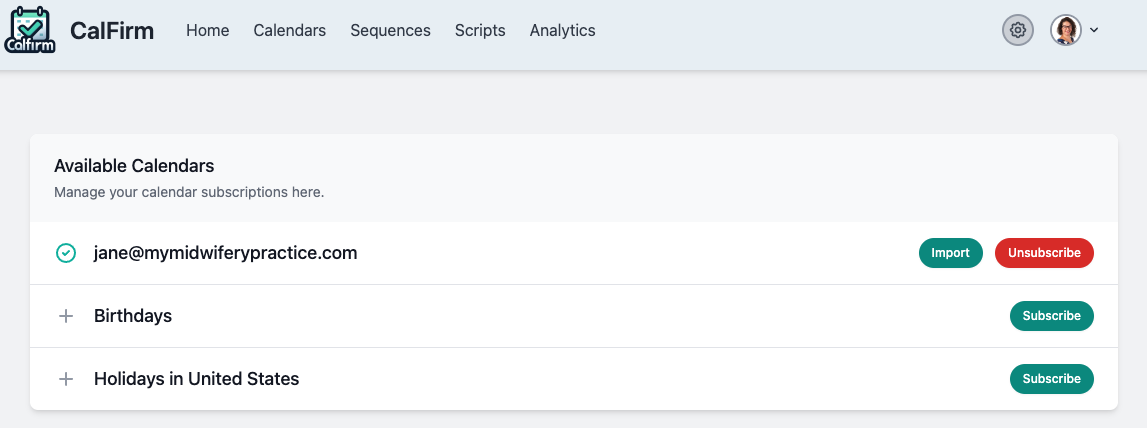
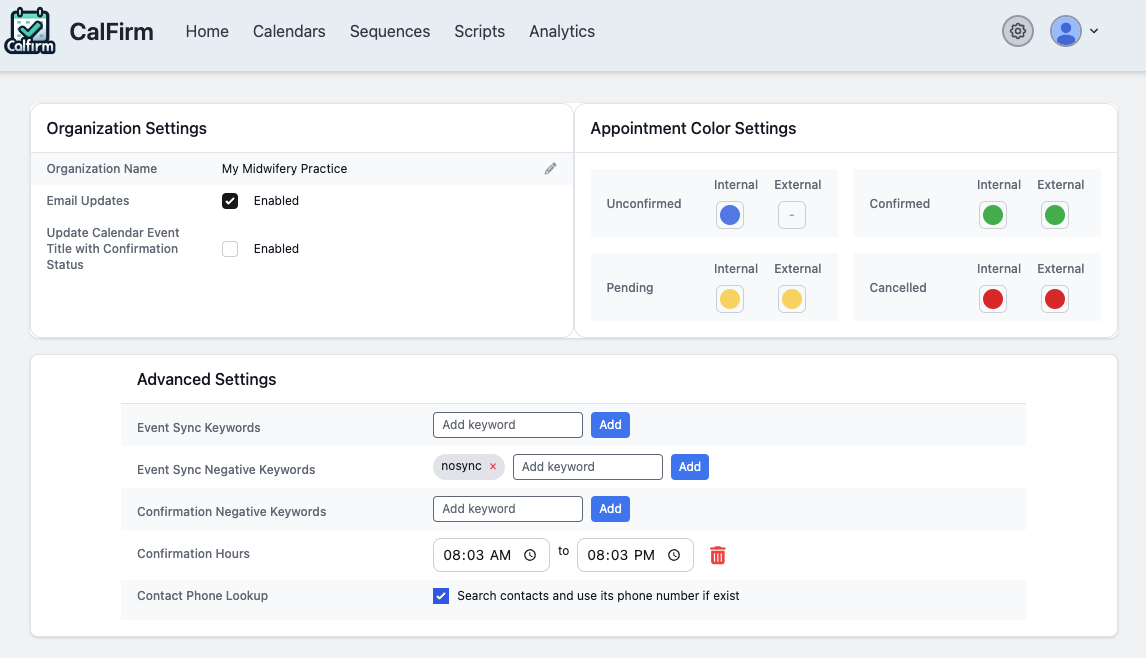
Subscribe to a calendar you want to use, and define what events you'd like to sync/confirm
-
5
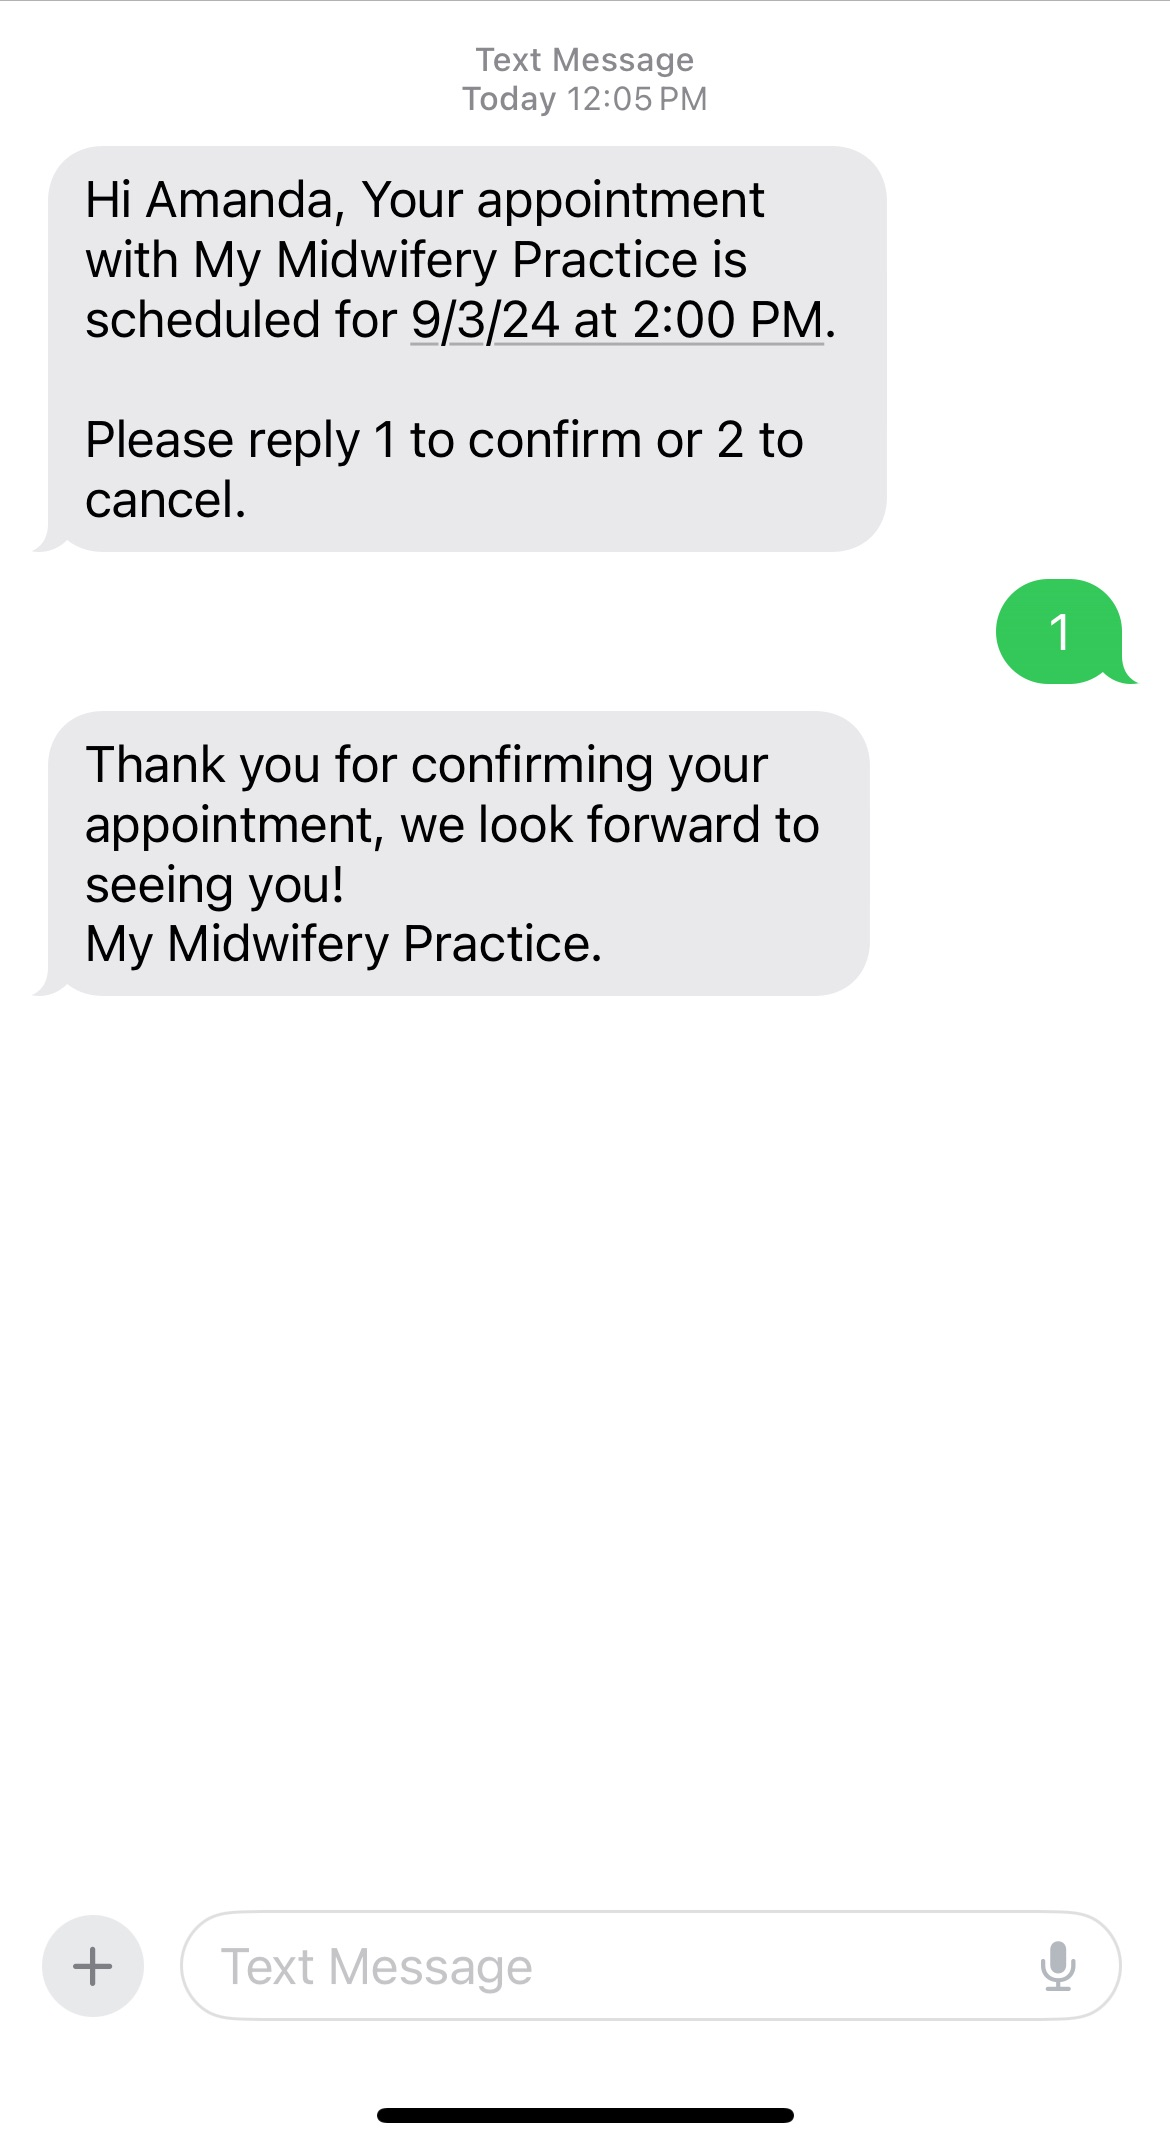
Test the System
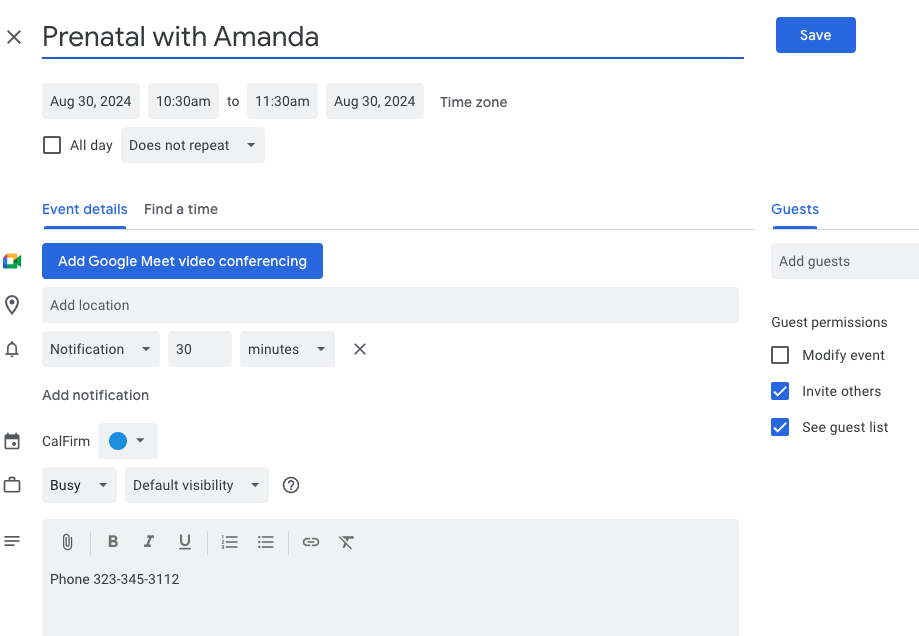
Create a test appointment in your calendar. Specify contact name in the title,
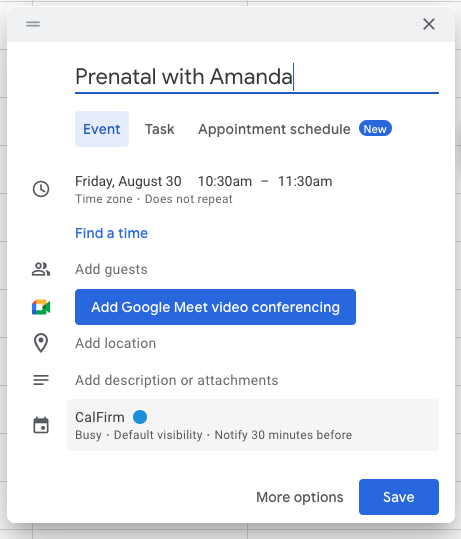
or specify phone number in the description. Use your own phone number to verify the confirmation.
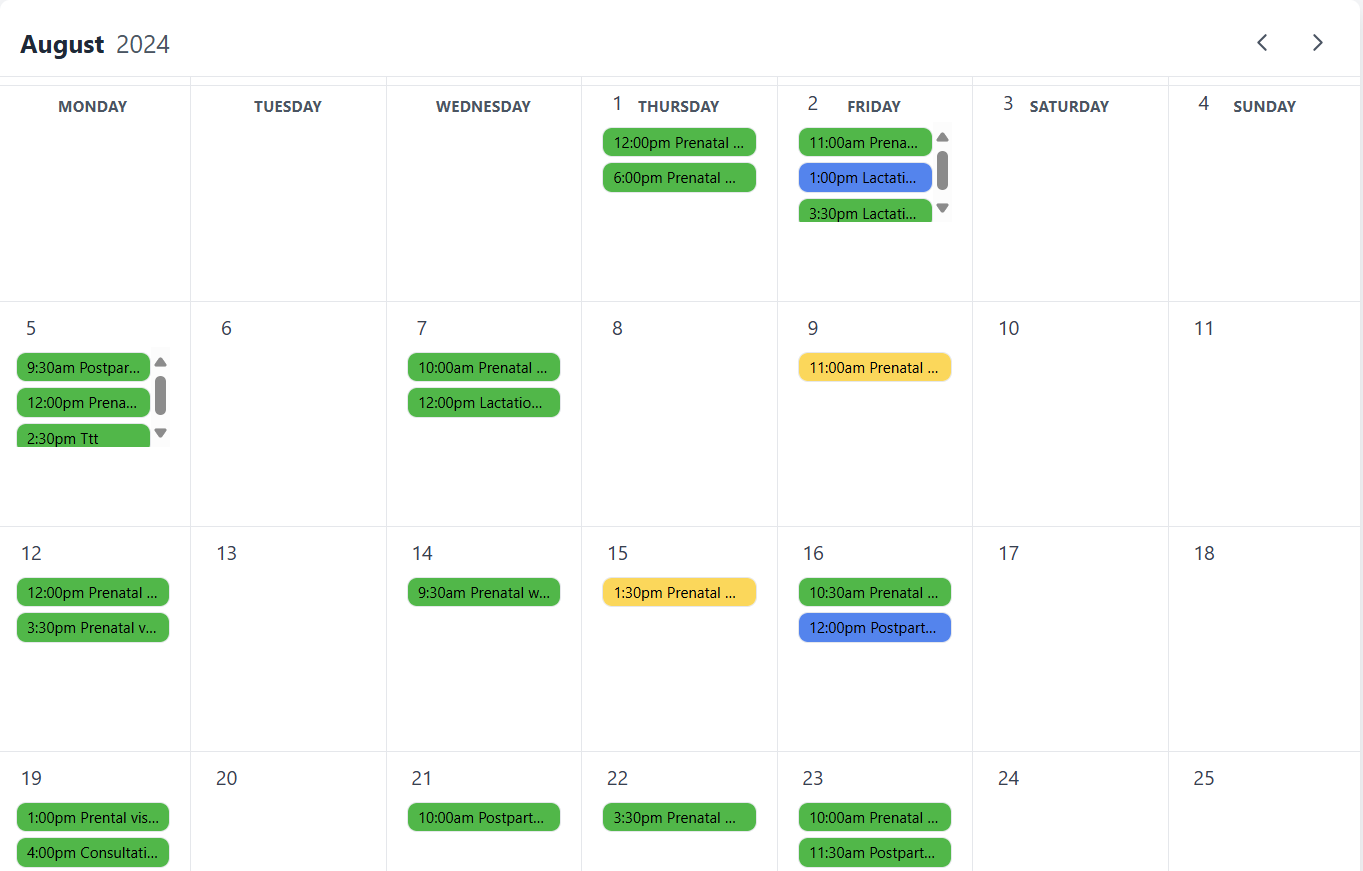
Navigate to the Dashboard, and find the test appointment in the calendar.
Verify the event details and that the confirmation/s are set according to your rules.
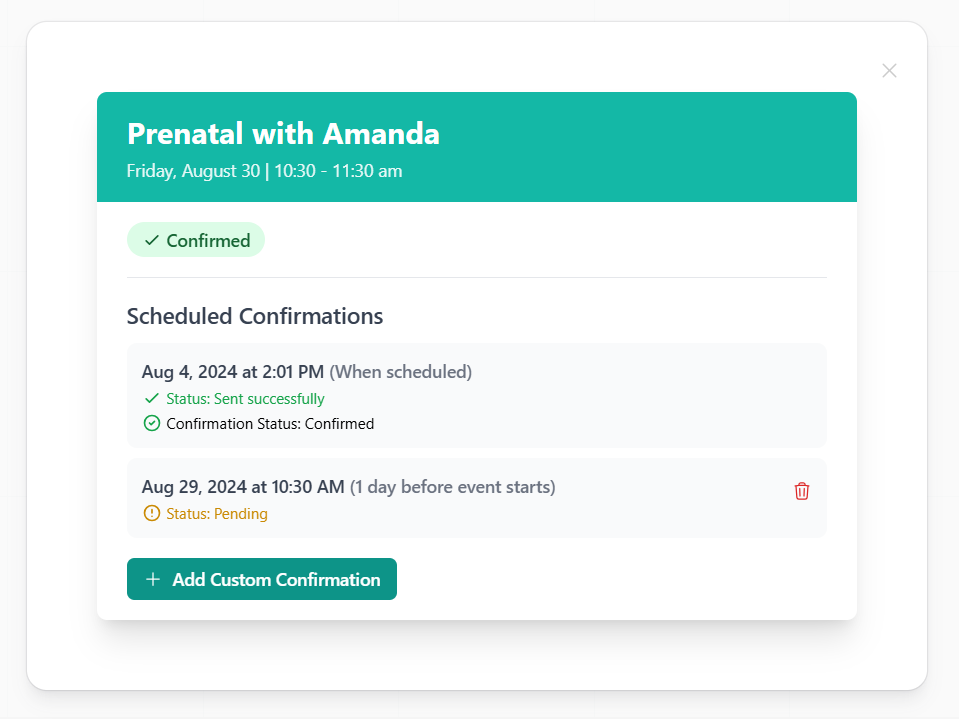
Check that the message content matches your script.
-
6
Sit Back and let CalFirm Work
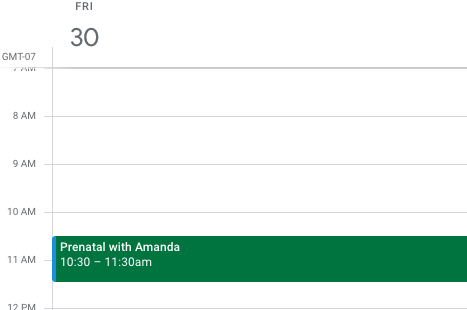
See calendar confirmation status from your own calendar.
Use the CalFirm dashboard to monitor the status of your appointments and their confirmation status.

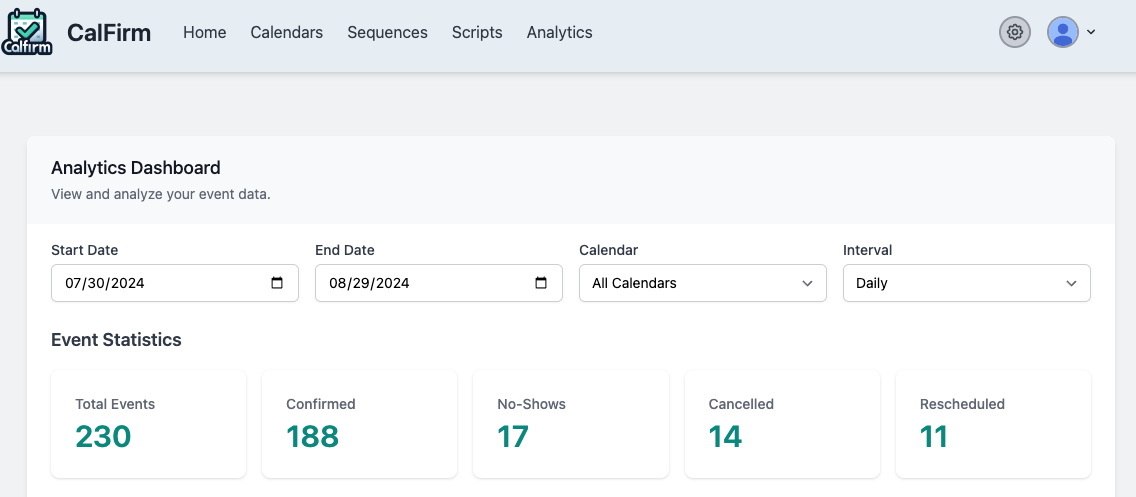
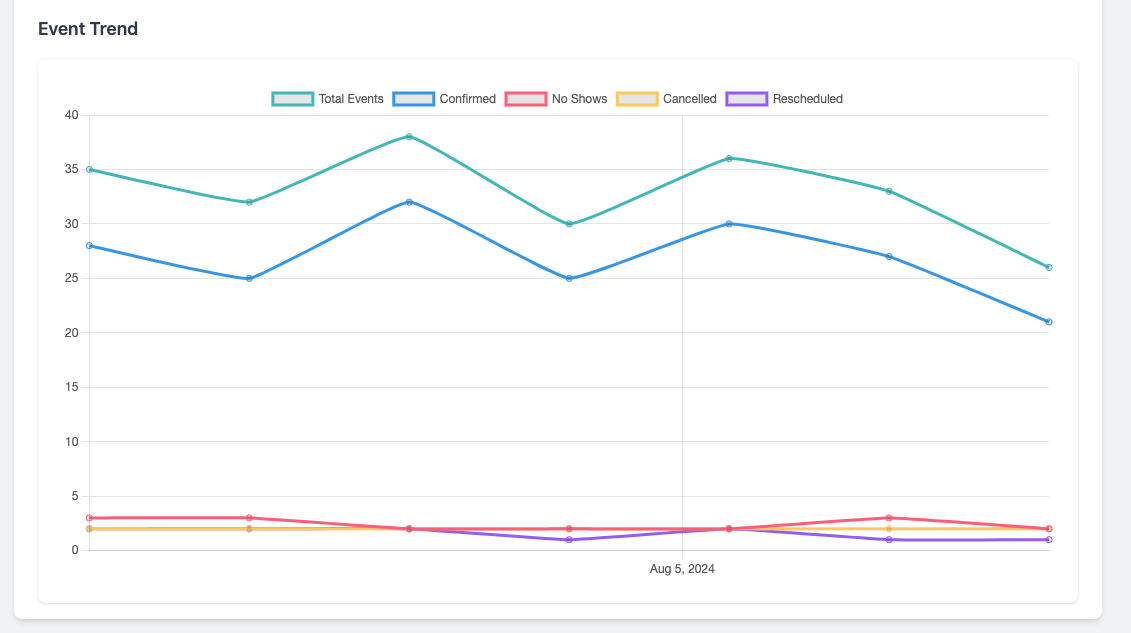
Use CalFirm analytics to see how effective your confirmation sequences are,
and understand the trends.
Contact Phone Number Detection
For CalFirm to send confirmations to your contacts, it needs to identify their phone numbers. There are three ways to provide this information:
1. Contact Name Lookup
Include the contact's name in your event title using specific patterns. The text before/after the name doesn't matter - it's the pattern structure that's important:
- "[Any text] with [Name]"
- "[Any text] for [Name]"
- "[Any text] ([Name])"
- "[Any text]: [Name]"
- "[Any text] - [Name]"
Example: "Meeting with Jane" and "Call with Jane" both work the same way - the word before "with" doesn't matter.
2. Phone in Event Title
Include the phone number directly in the title:
- 5551234567
- (555) 123-4567
- 555-123-4567
- +1 555-123-4567
3. Phone in Description
Add the phone number in the event description:
- "Phone: (555) 123-4567"
- "Call: 555-987-6543"
- Plain number: 5551234567
The system tries these methods in order: Contact Name → Event Title → Event Description. At least one method must provide a valid phone number for confirmations to work.
Ready to Get Started?
Experience the power of efficient appointment management with CalFirm.
Sign Up for Free Sign In with Google
 Sign In with Microsoft
